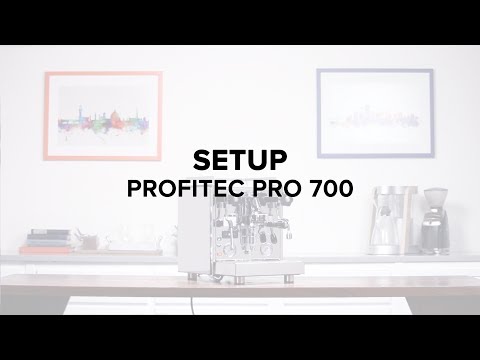
Profitec Pro 700 Espresso Machine Setup Guide
Join Charles as he walks you through the setup process for the Profitec Pro 700 dual boiler espresso machine: https://clivecoffee.com/products/profitec-pro-700-dual-boiler-espresso-machine
This machine can be customized with walnut wood panels as well as a custom walnut portafilter, and are a great addition to any kitchen.
https://clivecoffee.com/products/clive-pro-700-wood-panels
https://clivecoffee.com/products/clive-bottomless-portafilter
For more information on the importance of water and your machine: https://clivecoffee.com/blogs/learn/the-importance-of-water-and-your-machine
For more knowledge on all things espresso check out our blog: https://clivecoffee.com/blogs/learn
Subscribe to our channel: https://www.youtube.com/user/clivecoffee?sub_confirmation=1
Instagram: https://www.instagram.com/clivecoffee/
Twitter: https://twitter.com/CliveCoffee
Facebook: https://www.facebook.com/clivecoffeepdx/
Pinterest: https://www.pinterest.com/clivecoffee/
FULL TEXT TRANSCRIPTION BELOW:
Step 1: Inspect the box and the machine for damage
Remove the machine from the box. We recommend saving all of the packing materials and boxes. Set the machine on a stable and level surface. Inspect the machine for damage. If you find any damage, please contact us immediately.
Step 2: Water Quality and Plumbing in your machine
Before introducing any water to the machine, it’s important to test it to make sure it is adequately soft. Use the included water test strip to verify the softness of your water. Ideally, we’re looking for a softness below 50 ppm. For more information on water, take a look at CliveCoffee.com/water or click the link in the description of this video. Now that we’ve verified your water is adequately softened and filtered, we need to get some water in the machine If you’re using the machine’s internal reservoir, you can simply fill the reservoir now. If you plan to direct plumb your machine, fasten the braided line to the pump inlet on the bottom of the machine until it is hand tight, then turn it a quarter turn with an adjustable wrench.
Turn the valve next to the inlet 180° Then flip the switch behind the drip tray to the direct plumb setting. Open your water line and check for leaks at all the connection points.
Step 3: Filling your boilers and turning on the machine
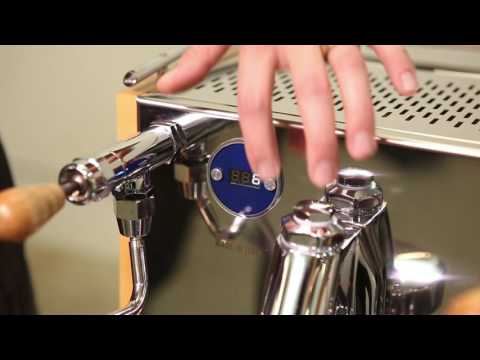
Plug in your machine. Flip the power switch on the front of the machine to turn it on. The machine will automatically begin heating and filling the boiler(s). You’ll notice that the machine’s PID flips between two different numbers. One is the brew boiler and the other is the steam boiler. You’ll know the machine has come to temperature and is ready to pull shots when PID reads 200°F for the brew boiler. At this point, your machine is ready to pull your first shots. With coffee in your portafilter, lock it into the group head and simply lift the brew lever about 90 degrees to begin pulling espresso. If you got our grinder dial-in service, following the proper dose and shot time with the included coffee will give you a near-perfect shot. If you didn’t, just watch our video detailing how to pull the perfect shot of espresso.
A few tips before we go
If you’d like to change either boiler’s temperature, you can do so using the two buttons on the PID. First, press both buttons at the same time, which will then display “T1”. T1 represents brew boiler temperature. By pressing the plus button, you can enter that setting. You’ll then see the current target temperature (200 by default). By using the two buttons you can increase or decrease the temperature. Waiting for a moment will send you back out the main menu, showing “T1”. From here, pressing the minus button will move you to “T2”, which represents the steam boiler temperature. You can enter and change this as well. Pressing the minus button again will exit the menu. When it comes to brew temperature, we recommend staying between 195 and 200°F, using lower temperatures for darker roasts, and higher temperatures for lighter ones. As always, experimentation is highly encouraged. Steam boiler temperature is set to its maximum by default, and it’s probably best to leave it there for maximum steaming performance. You can also turn off the steam boiler using this switch hidden behind the drip tray. This can be handy during summer months when you know you’ll only be making iced lattes.
To improve your milk steaming skills, watch our How to Steam Milk guide here.
If this video helped you setup your new machine, be sure to hit the like button. If it didn’t, or if you have any questions, let us know in the comments below. And for more coffee knowledge, don’t forget to hit Subscribe.






Comments