Join Charles as he shows you how to setup the La Marzocco GS3 Manual Paddle espresso machine. https://clivecoffee.com/products/la-marzocco-gs3-espresso-machine-paddle-version
See the La Marzocco GS3 MP on our site:
https://clivecoffee.com/products/la-marzocco-gs3-espresso-machine-paddle-version
Learn more about the La Marzocco GS3 AV with volumetric shot buttons:
https://clivecoffee.com/products/la-marzocco-gs3-espresso-machine-original-automatic
The scale used in this video is the venerable Acaia Lunar:
https://clivecoffee.com/products/acaia-lunar-scale
The grinder is the quiet Eureka Atom 75:
https://clivecoffee.com/products/eureka-atom-75-espresso-grinder
For more information on the importance of water and your machine: https://clivecoffee.com/blogs/learn/the-importance-of-water-and-your-machine
For more knowledge on all things espresso check out our blog: https://clivecoffee.com/blogs/learn
Subscribe to our channel: https://www.youtube.com/user/clivecoffee?sub_confirmation=1
Instagram: https://www.instagram.com/clivecoffee/
Twitter: https://twitter.com/CliveCoffee
Facebook: https://www.facebook.com/clivecoffeepdx/
Pinterest: https://www.pinterest.com/clivecoffee/
Full Transcript Below:
GS3 MP Setup
Step 1: Inspect the box and the machine for damage
Remove the machine from the box. We recommend saving all of the packing materials and boxes.
Set the machine on a stable and level surface.
Inspect the machine for damage. If you find any damage, please contact us immediately.
Step 2: Water Quality and Plumbing in your machine
Before introducing any water to the machine, it’s important to test it to make sure it is adequately soft
Use the included water test strip to verify the softness of your water. Ideally, we’re looking for a softness below 50 ppm.
For more information on water, take a look at CliveCoffee.com/water or click the link in the description of this video.
If you plan to use the machine’s internal water reservoir simply fill the machine’s reservoir now.
If you plan to direct plumb the machine we’ll start by removing the machine’s left side panel by unscrewing these chrome caps and using a wrench or pliers to remove these nuts. Now the panel can simply be pulled off the side of the machine.
Inside you’ll find the machine’s rotary pump. In order to switch to using a direct water line we’ll need to first remove the line coming from the water reservoir. To do this we’ll first remove the compression clip attaching the rubber water line to the machine’s reservoir. This is most easily done by using a pair of pliers to pinch the clip and slip the tubing off. You can set aside the reservoir as you’ll no longer need it.
Next, we’ll use a wrench to unthread this tubing attached to the machine’s pump. Now you can simply pull the line through to remove it from the machine.
Take the braided line included with the machine and route it up through this hole in the machine. Hand tighten it to the open end of the pump and then use a wrench to give it an extra half turn.
Ensure that the braided line is not kinked in such a way that restricts water flow.
Step 3: Filling your boilers and turning on the machine
Plug in your machine and turn it on using the switch around back.
If you’re using the machine with a direct water line, you’ll first need to tell it not to expect the water reservoir.
To do this, press and hold the function button and then press the power button on the face of the machine.
Now press and hold the function button for 10 seconds until you see the power-off settings menu.
Cycle through this using the function button until you reach the “
With the power on, the machine will automatically begin heating and filling the boiler(s).
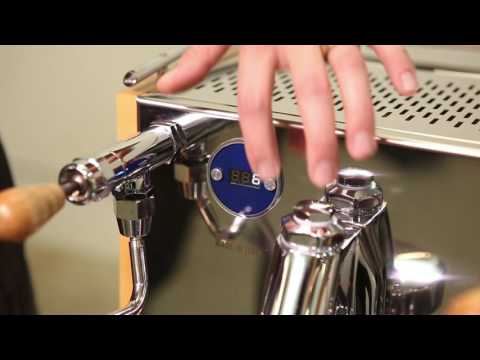
You’ll know the machine has come to temperature and is ready to pull shots when the PID displays a temperature of about 200°F and the steam boiler pressure gauge reads above 1.5 bar.
At this point, your machine is ready to pull your first shots. With coffee in your portafilter, lock it into the group head and simply move the paddle to the left to begin pulling espresso.
A few tips before we go:
Changing the boiler’s temperature can be done by opening the machine’s settings menu. To get there, simply press and hold the function button for about 5 seconds until it opens the settings menu. To cycle through the different menu options press the function button again until you reach “cof. boiler temp.”
To increase or decrease the temperature use the + and – buttons.
Once you have the temperature where you want it, simply press the function button to cycle out of the menu. Your setting will automatically be saved and the machine will begin adjusting to this temperature.







Comments